

I found a photo on the AP Saturday night that I wanted to use in the skybox of Sunday's 1A (See above, and courtesy of The Associated Press), but I knew I would have to alter it a bit to fit it how I wanted it. Queue Photoshop. I managed to find an easy way to extend the left part of the photograph that #1 didn't look photoshopped (at least for what I used it for) and #2 didn't take me forever. And guess what? You get a step-by-step tutorial of how I did it! It's not going to be super specific, but if you need any other direction, just ask.
1. Extend the Canvas: I extended the canvas of my image by selecting Image > Canvas Size. You can save a step by anchoring the image to a corner or a side so you don't have to move things around afterward.

2. Layering it on: I made two more layers of the original image in the layers palette (Ctrl [apple] + J). Then I used the pen tool to trace around the football player on one of my copy layers. After I closed the path and saved it in the paths palette (double click and name, just like the layers), I clicked the "Load path as a selection" button on the bottom of the palette. It is the one that looks like a dotted-line circle. Then, I cut the player out of one of my copies, and by selecting the inverse (ctrl [apple] + I), I cut the background out of the second copy.
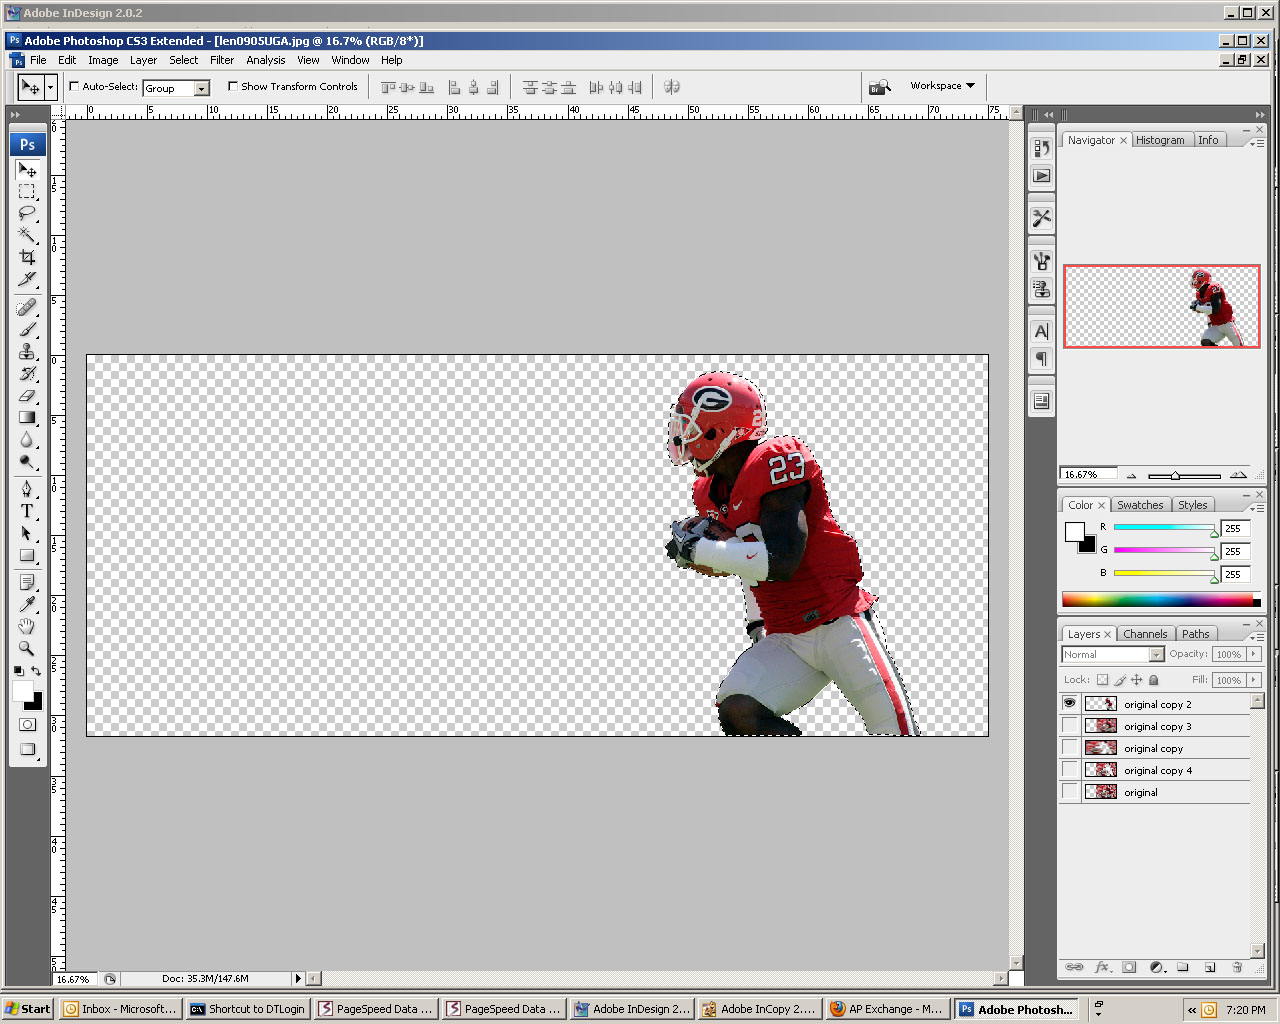

3. Blurring the image: From there, I made another copy of the original image and used a motion blur on it. You can do this by selecting Filter > Blur > Motion Blur. I set the distance at 268 pixels, but all you need to know is that the higher the number, the more blur you get. You can also set the blur to an angle, but I kept mine on 0 degrees for logic's sake. I used the same motion blur on the layer that is the exact copy of the original and the layer that had the football player cut out of it. To extend the image, I simply stretched the background cutout layer (ctrl [apple] + t) to fit the entire canvas.


4. Finishing touches: I re-organized my layers so that I had the football player cutout on top, then the motion blurred copy, then the motion blurred cutout. From there, all I had to do was erase and blend a little bit of the edge of the motion blurred copy so that the two layers looked like they belonged on top of one another. As it ended up, I only really needed the top part of my image, but the experience was worth it. It only took me about 15 minutes to do. (It actually took me longer than that to type this blog.
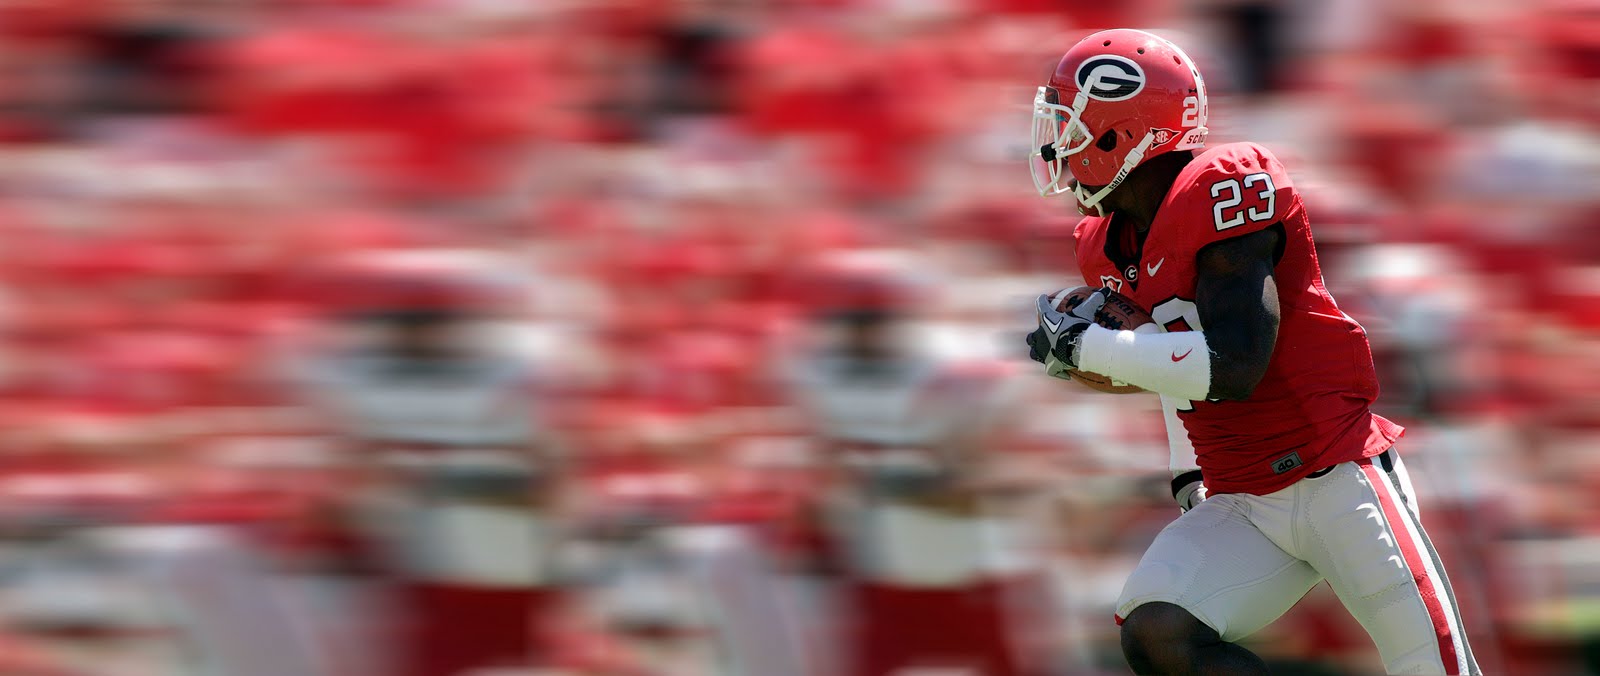
Here is how it was used in print:

No comments:
Post a Comment